Exporting artwork
Export a frame, animation, sprite sheet, or image sequence for use outside SpriteOpal.
Open the export dialog
Choose File → Export..., press Ctrl + Shift + E, or select Export in the document bar. Choose PNG, GIF, Animated WebP, or Sprite sheet at the top. Available options change with the format.
Exporting creates output files; it does not replace saving the editable project. Use File → Save project to keep layers, frames, and other project data in an .opal file.
Export a PNG frame
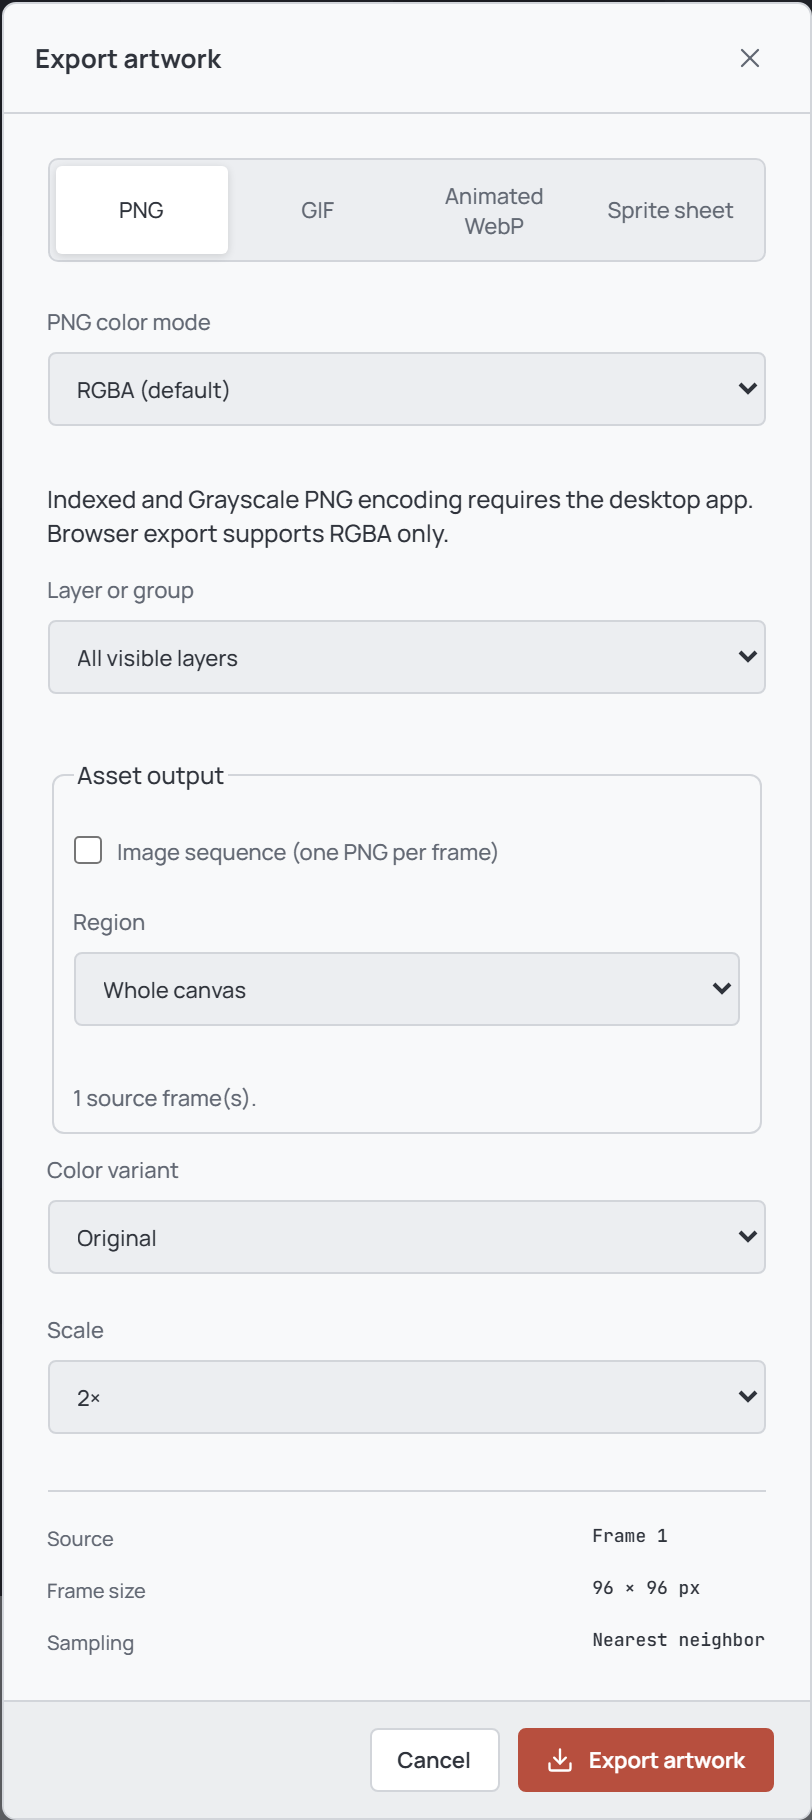
Select the desired frame in the timeline before opening the dialog. Choose PNG to export that frame. Under Layer or group, use All visible layers or select a specific layer or group. Choose a color variant and Scale; nearest-neighbor sampling keeps pixels sharp.
The default PNG color mode is RGBA. In the desktop app, Indexed and Grayscale are also available. Grayscale requires grayscale artwork; Indexed may require Allow color approximation (quantize) if the colors cannot be represented exactly. Browser PNG export supports RGBA only.
Export an animation
Choose GIF or Animated WebP, then select All Frames or a tag under Animation source. Optionally enable Frame range and enter inclusive first and last frame numbers. Use Loop animation to control looping and Honor nested and overlapping tags when those tags should affect playback.
Animated WebP defaults to Lossless; uncheck it to set a lossy quality from 1 to 100. GIF and animated WebP encoding require the desktop app. See Animation tags for choosing and configuring ranges.
Export a sprite sheet
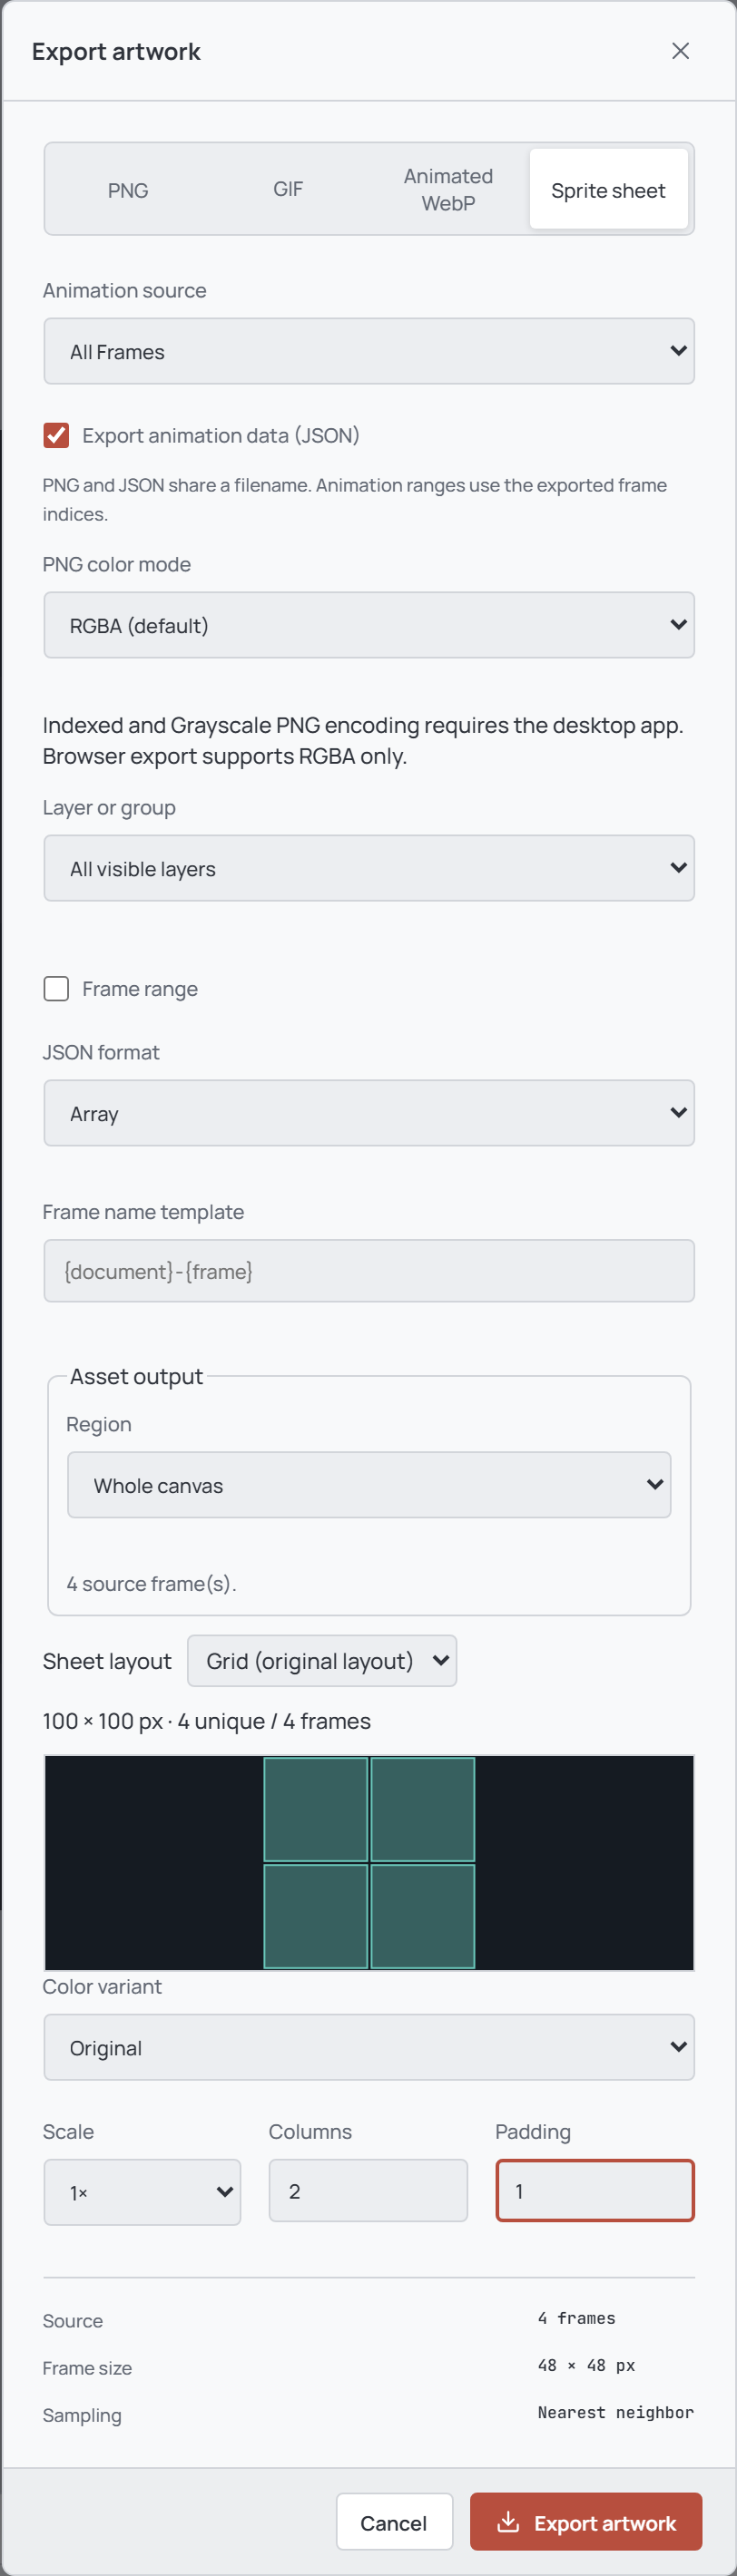
Choose Sprite sheet and select an animation source and optional frame range. The default Grid layout arranges frames in order; set Columns and Padding and check the atlas preview and output dimensions. The sheet is exported as a PNG.
Alternatively, choose Packed atlas to use the available space differently. You can trim transparent edges, merge identical frames, and add edge extrusion. Enable Export animation data (JSON) to include frame locations, timing, and applicable metadata; for packed sheets it also preserves trim offsets. Choose an Array or Hash JSON format and, if needed, a unique frame name template.
Export sequences and regions
To create one PNG per frame, choose PNG and enable Image sequence (one PNG per frame). Choose the animation source and optional frame range, then set the filename template. Under Region, you can export the whole canvas, a named slice, or each slice separately.
For multiple outputs, the desktop app asks for a folder; the browser downloads a ZIP. Existing desktop files are protected unless Overwrite existing outputs is enabled. Up to 512 outputs are supported, and cancellation stops the remaining jobs.
Choose a destination and check the result
Select Export artwork. In the desktop app, choose a filename and destination when prompted. In the browser, the output downloads; a sheet with JSON starts two separate downloads, so allow multiple downloads if prompted. Check the resulting files and any error message before continuing.
For non-square pixels, Apply pixel ratio can stretch PNG, GIF, or animated WebP output; sprite sheets use the stored pixel dimensions. If the export is too large, reduce the scale or frame range.
For a single-frame WebP, JPEG, BMP, TGA, ICO, or QOI, use File → Export image format... instead. JPEG uses a background color because it has no transparency; BMP, TGA, ICO, and QOI require the desktop app. ICO output is limited to 256 × 256 pixels.
For several open artworks, use File → Batch export... to choose documents and settings together. File → Repeat Last Export repeats the current artwork's last successful export; on desktop it writes to the previous destination, so check that destination before repeating.