Frames & timeline
Build an animation frame by frame, select cels, and control their order and timing in the timeline.
Read the timeline
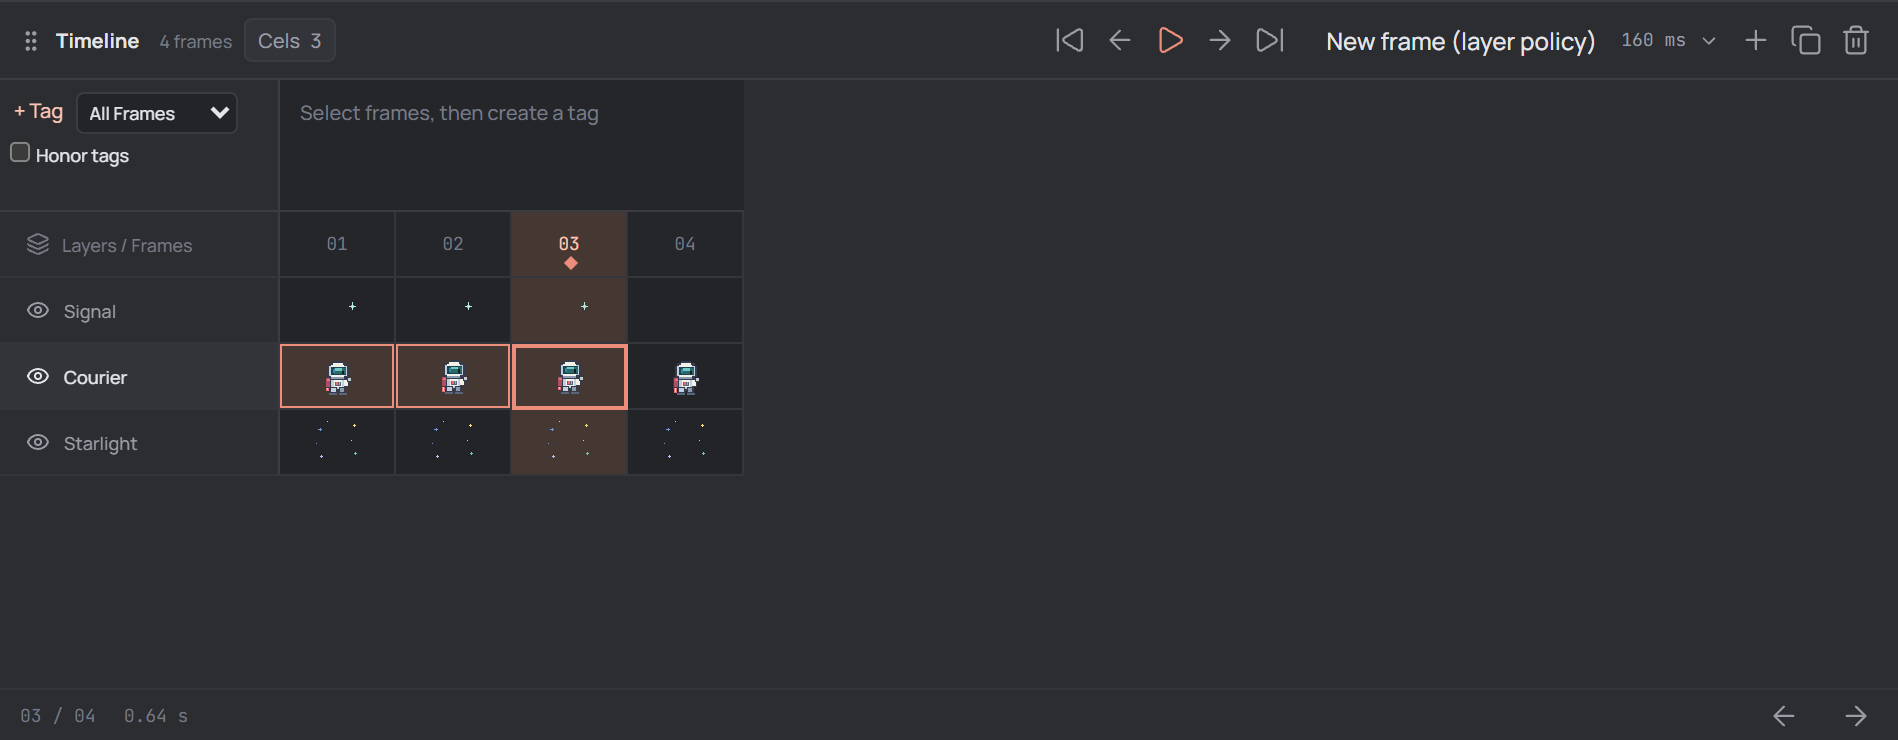
The Timeline is below the canvas. Numbered columns represent frames and rows represent layers; each intersection is a cel, the image for one layer in one frame. The highlighted frame and active cel determine where you are working.
Click a frame number to show that frame, or click a cel to select both its frame and layer. The footer shows the current frame and total frame count, followed by the animation's total duration. Scroll the grid to reach additional frames or layers, or drag the timeline's upper edge to give it more room.
Add and remove frames
Select the frame you want to work from. The timeline's + creates a New empty frame after it (Alt + N); Duplicate frame copies its contents into a new frame (Alt + D). The new frame becomes active and starts with the source frame's duration.
New frame (layer policy) also copies the current frame, but shares images for layers marked Continuous layer and makes independent copies for other layers. The Frame menu additionally offers New linked frame, which shares the source images across layers. Editing a shared image can change multiple frames.
To remove the current frame, select Delete frame in the toolbar or Frame menu. At least one frame must remain. Use Undo if you delete a frame by mistake.
Set frame duration
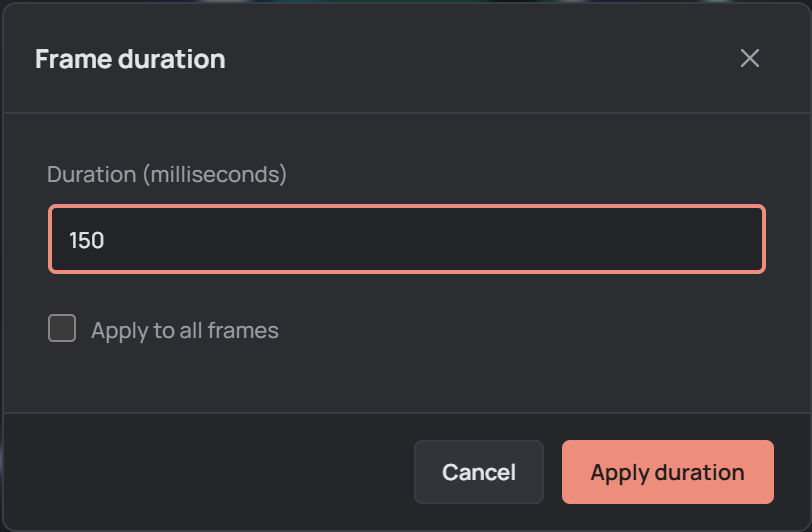
Select a frame and click the millisecond value in the timeline toolbar, double-click a frame number, or choose Frame → Frame duration.... Enter a duration between 20 and 10000 milliseconds, then choose Apply duration. A shorter duration displays the frame for less time.
By default the dialog changes only the active frame. Check Apply to all frames to give every frame the same duration. Selecting a range of frame headers alone does not apply the duration to that range.
Select frames and cels
Drag across frame numbers, or click one and Shift-click another, to select a frame range. This range can be used with features such as animation tags. Selecting a frame range is different from selecting cels.
To select cels, drag across the grid or click a cel and Shift-click another to select the rectangular range between them. Ctrl-click (or Cmd-click on Mac) adds or removes individual cels. The Cels button in the timeline toolbar shows the selection count and opens actions for those cels.
With a cel focused, use the arrow keys to navigate, or hold Shift to extend the selection. Timeline shortcuts for copying, pasting, and clearing cels operate on cels rather than the canvas selection.
Work with cels and frame order
Open Cels for copy, paste, duplicate, clear, flip, move, and transform operations. Moving or pasting cels replaces destination cels and unlinks those destinations, so check the selection and destination before applying. Linked cels are marked L; the dialog warns when an edit may affect linked cels outside the selection.
Link Cels replaces selected images with the earliest selected frame's image on each layer. Use Unlink Cels when an independent image is needed; Undo can restore an unintended change.
Use the arrows at the right of the timeline footer to move the active frame earlier or later. To reverse a range across all layers, open Cels → Reverse frames..., check the first and last frame, and apply. This changes frame order, not playback direction; frame contents and durations move together.
Preview and save
Use the timeline's first, previous, play, next, and last controls to inspect the sequence. Enter toggles playback, while , and . move to the previous and next frame. Stop playback before making detailed edits. See Playback and Animation tags for more playback options.
Save the editable animation with File → Save project to retain its frames, cels, and timing.