Selections & transforms
Select part of an artwork to limit editing, then move or transform the selected pixels or the selection boundary.
Select an area
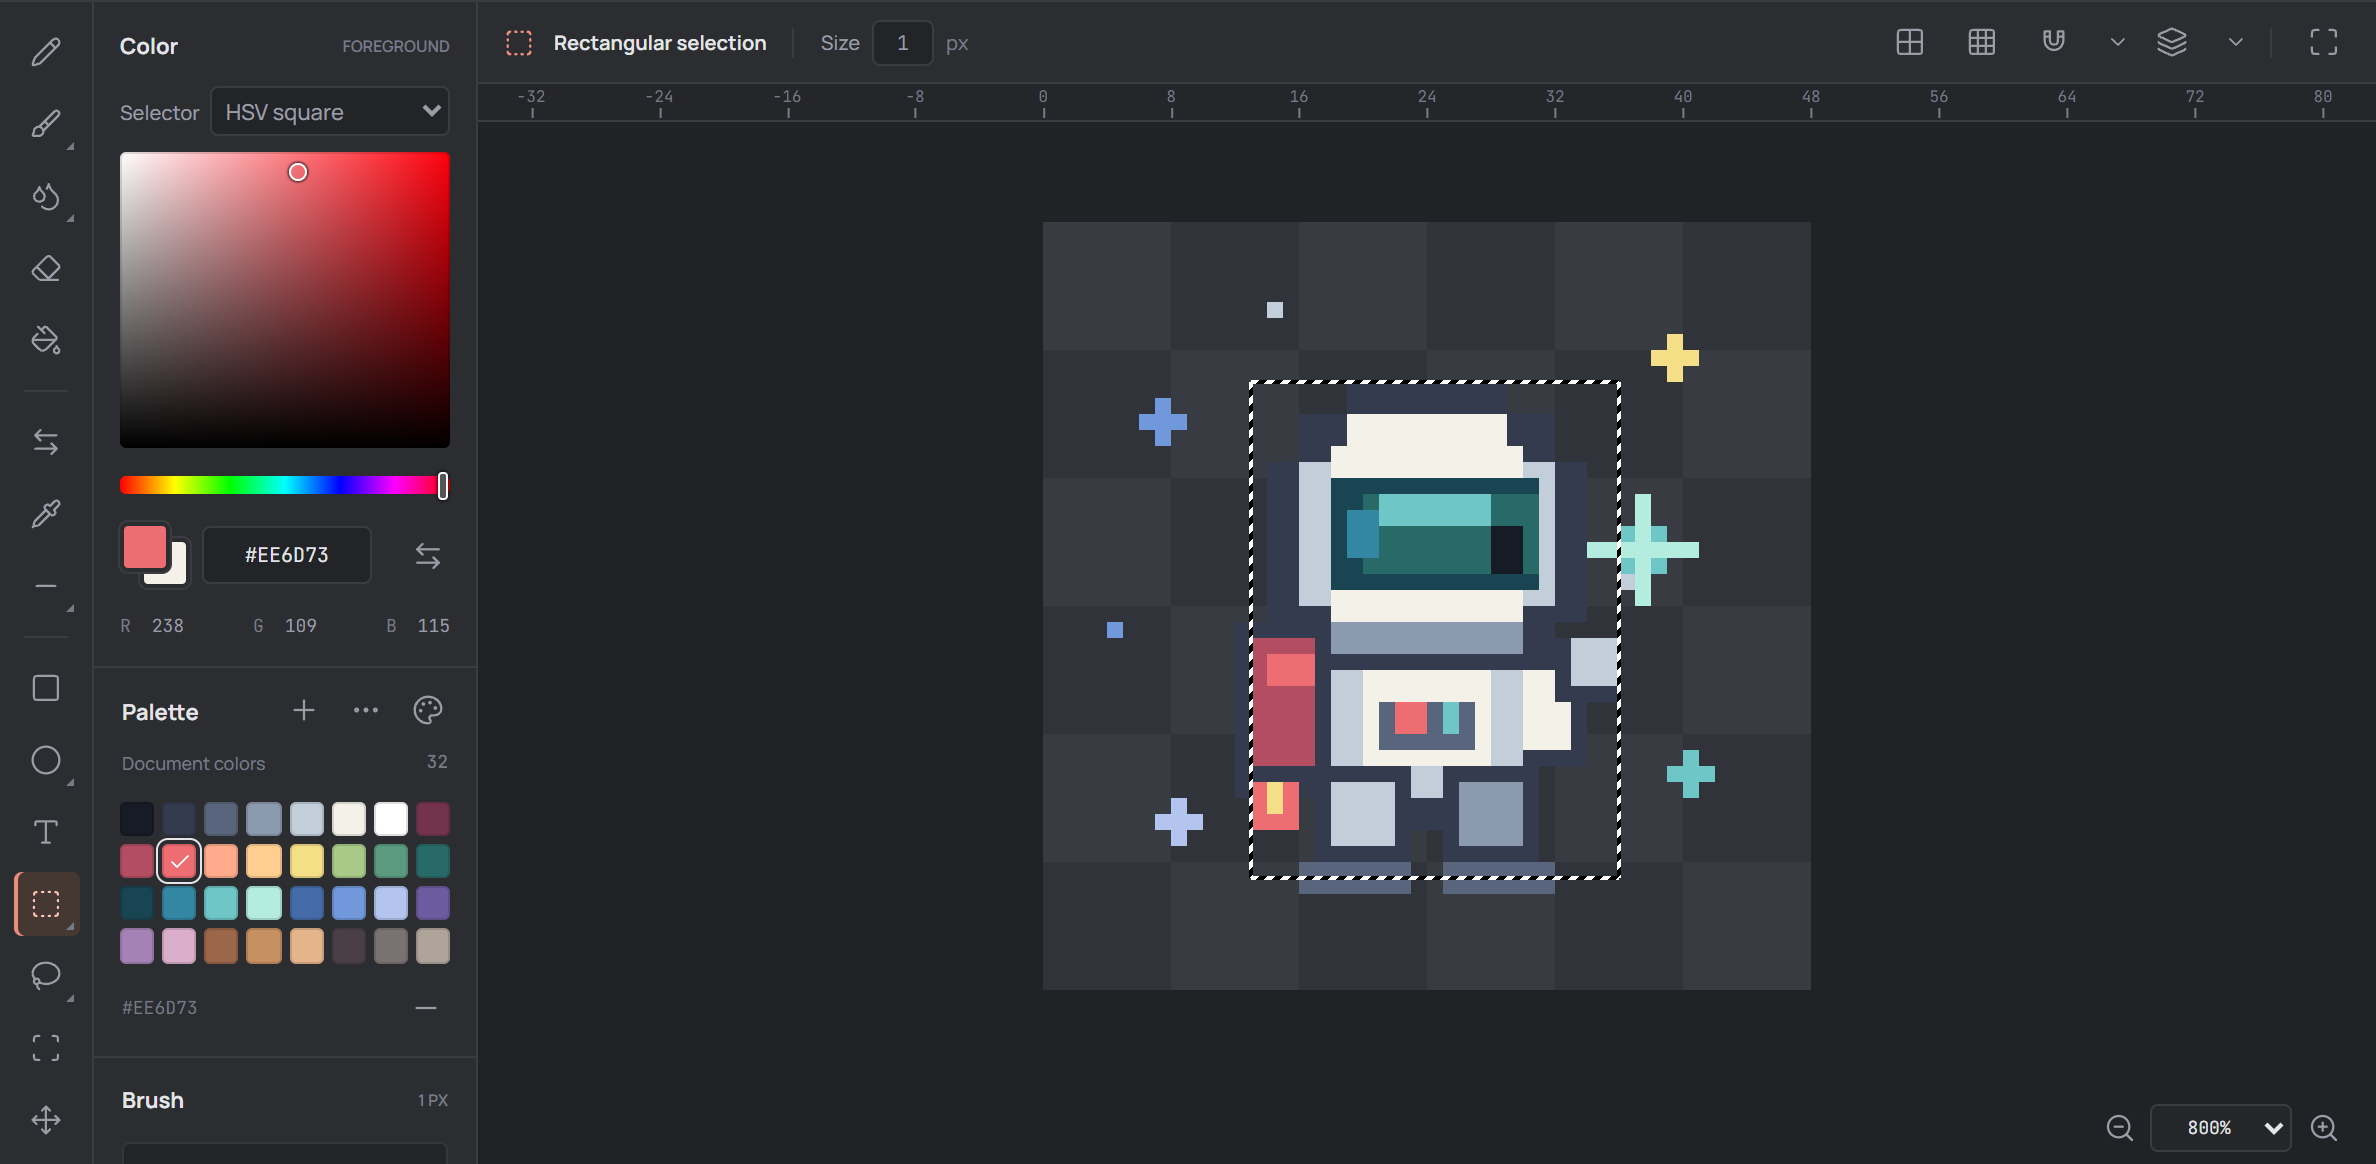
Choose an artwork, then select the layer and frame you want to edit. Select Rectangular selection on the left tool rail and drag across the canvas. The dashed outline marks the selected area; drawing and filling are limited to that area while the selection is active.
The rectangle tool shares a group with Elliptical selection. Right-click or press and hold its rail button to choose the ellipse, then drag to select an oval. Hold Shift while dragging an ellipse to make it circular.
Other ways to select
Use Lasso selection to drag a freehand boundary. Its group also contains Polygonal lasso: click points around the area and press Enter or right-click to close the outline. Press Escape to cancel an unfinished polygon.
Use Magic Wand to select pixels matching the color you click on the active layer. Open Options in the right-hand Document or Selection panel to adjust the wand's tolerance, contiguous matching, and selection mode. Replace, Add, Subtract, and Intersect control how the wand result combines with the existing selection.
Choose Edit → Select all (Ctrl + A) to select the canvas, Edit → Invert selection to swap selected and unselected areas, or Edit → Deselect (Ctrl + D) to remove the boundary without deleting pixels.
Modify or reuse a selection
With a selection active, choose Modify selection in the right-hand production tools. Select Expand, Contract, or Border, set the distance and shape, and review the preview before choosing Apply selection. Reselect can restore a previous selection when available.
Use Selection actions to fill or stroke the selection on the active layer. The same dialog can save or load an .opalmask file containing the selection boundary, not the artwork pixels. A loaded mask must match the artwork dimensions.
Transform selected pixels
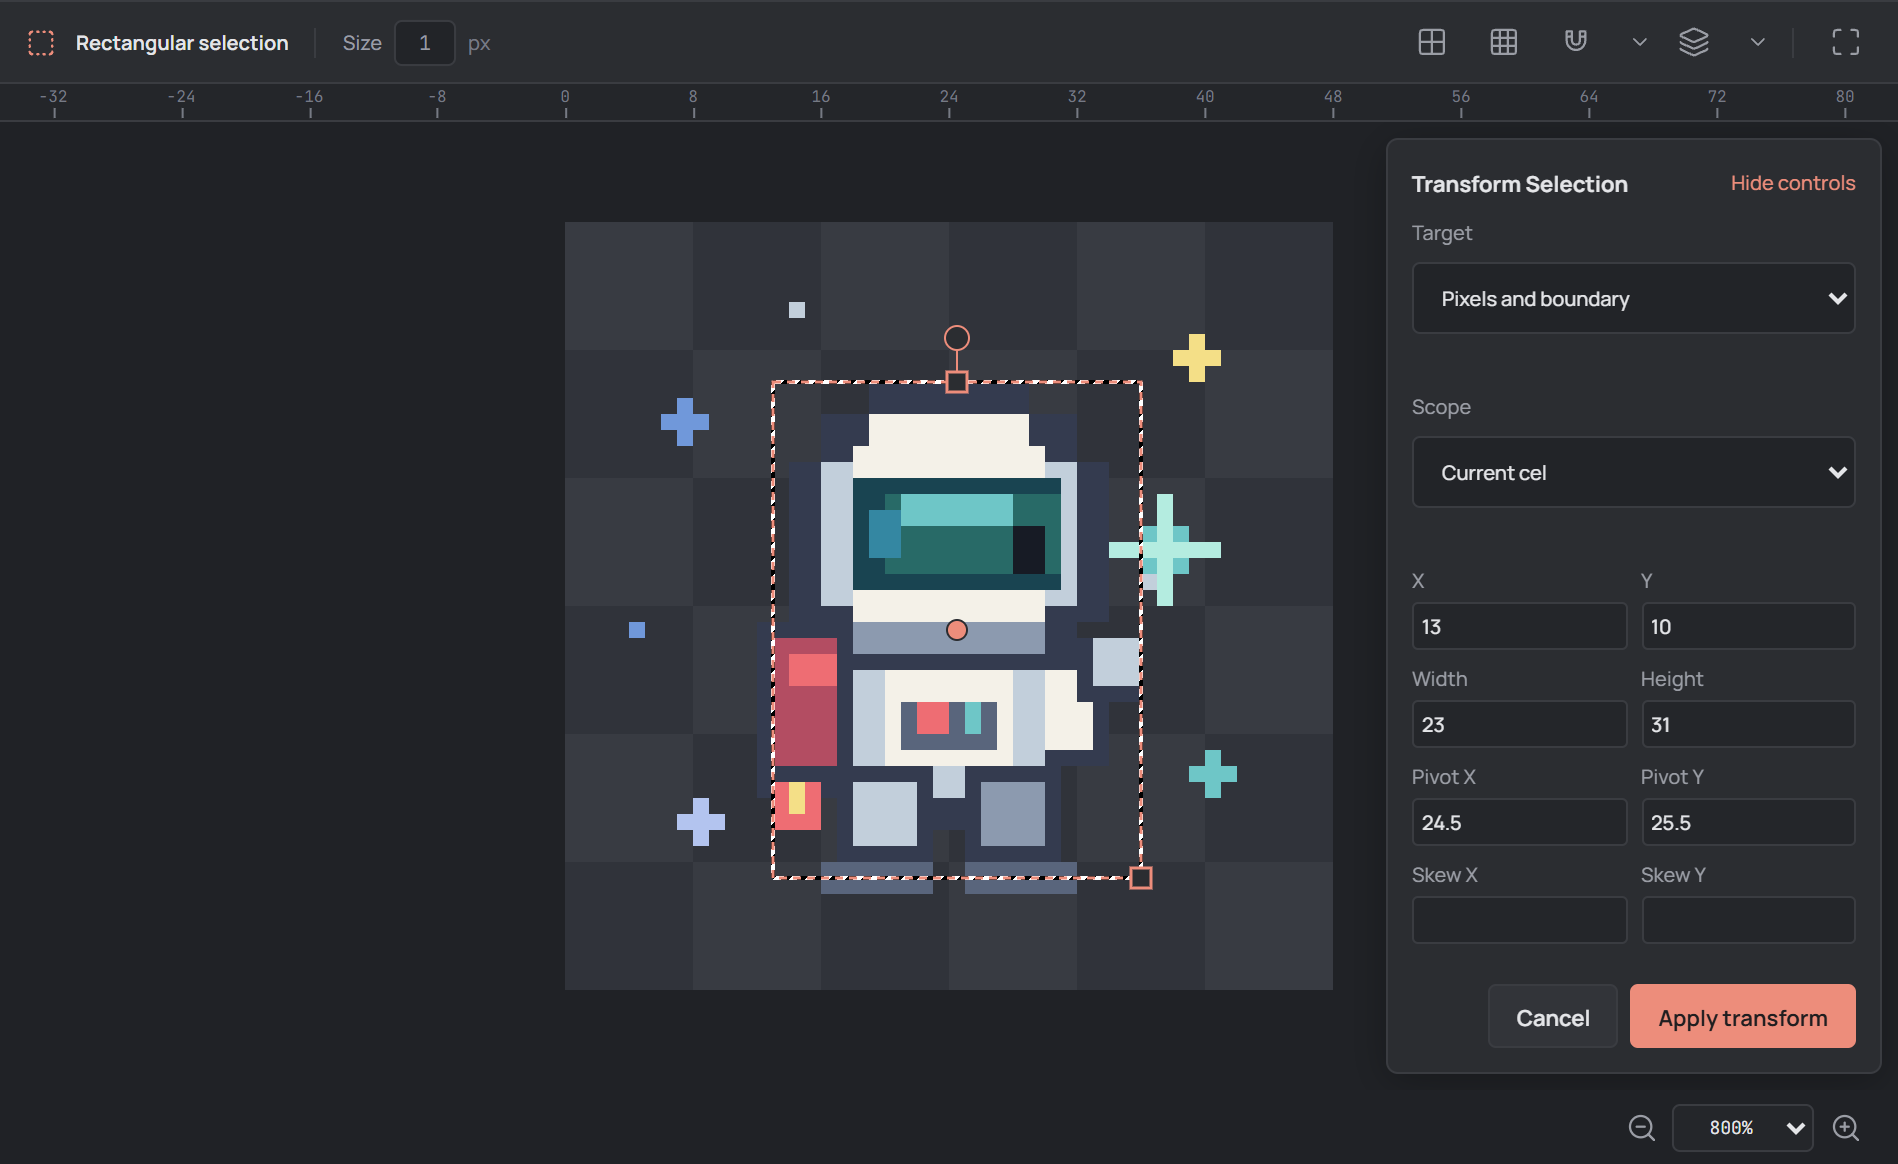
Make a selection, stop playback, and select an unlocked layer. Choose Edit → Transform selection... or Transform selection in the right-hand Selection panel. The canvas shows a transform box and a preview.
Drag inside the box to move it, use its handles to resize or rotate, or enter position, size, angle, pivot, and skew values in the panel. Lock aspect ratio links width and height; the method menu offers Nearest Neighbor and RotSprite. Scroll the panel if all controls are not visible.
Choose Apply transform or press Enter to commit; choose Cancel or press Escape to discard the preview. Pixels moved outside the canvas are clipped. Applied pixel transformations can be undone with Ctrl + Z.
Choose what the transform affects
Pixels and boundary transforms both the selected pixels and their selection. Selection boundary only changes the selected area without changing the pixels or artwork history.
For pixels, Scope can target the current cel or selected cels in the timeline. Linked images may also change outside the selected cels; unlink them first if you need independent edits. In a current-cel transform, navigating away commits the preview, so cancel first if you do not want to keep it.
Move, flip, and finish
To move selected pixels without opening the transform panel, select Move pixels on the tool rail and drag. Edit → Flip horizontal and Flip vertical are available for flipping. When you are finished, deselect and save the editable project with File → Save project.