Settings
Adjust the editor's appearance, canvas guides, and input behavior to suit your workflow.
Open Preferences
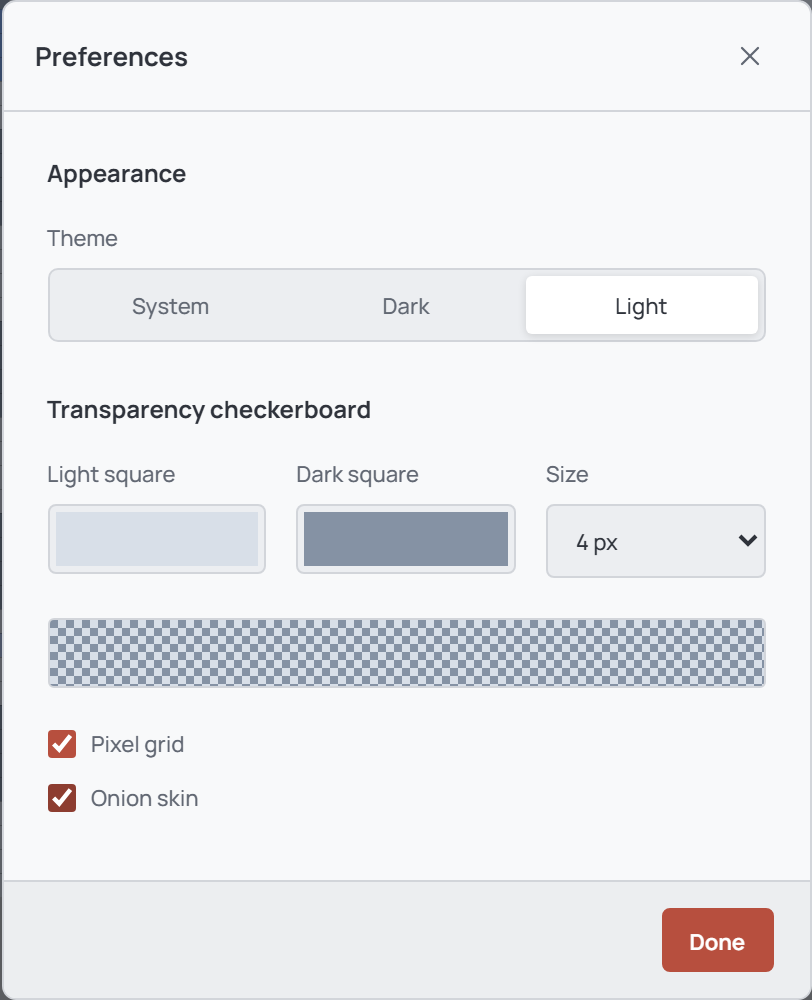
Choose View → Preferences... or select a Preferences gear button in the editor. The dialog contains appearance, transparency checkerboard, pixel grid, and onion skin settings.
Changes take effect as you make them and are normally saved locally. Done closes the dialog; there is no separate Cancel button to undo changes. These display preferences do not change the artwork or its Undo history.
Choose an appearance
Under Theme, choose System to follow the operating system's light or dark setting, or choose Dark or Light explicitly. The theme button in the top bar also switches between light and dark. Choosing a built-in appearance clears any applied custom UI theme.
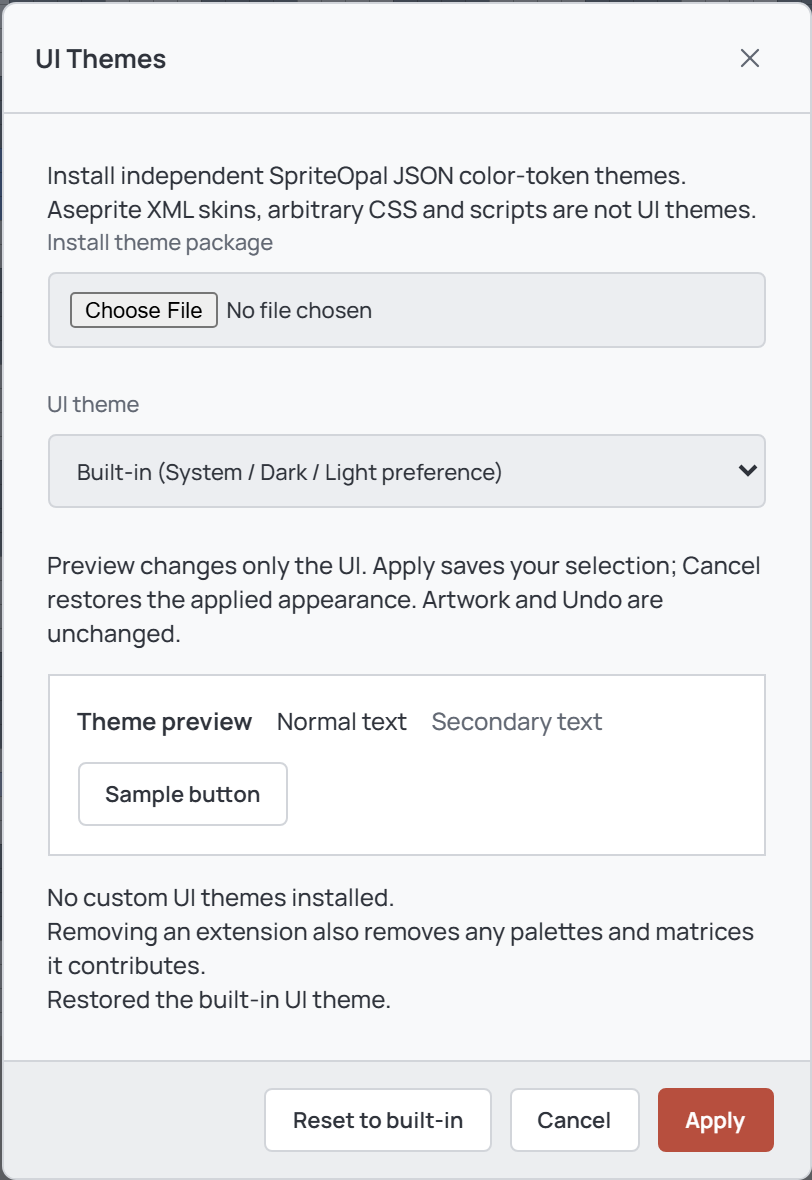
For a custom UI theme, select Themes in the top bar. Install a compatible SpriteOpal theme package, select an enabled theme in the UI theme menu to preview it, then choose Apply to save the selection or Cancel to restore the applied appearance. Reset to built-in previews the System/Dark/Light preference; select Apply to keep it.
Theme packages can be enabled or removed in this dialog. Installing, enabling, or removing an extension changes the installed package independently of the appearance preview; removing it also removes its contributed palettes and matrices. Aseprite XML skins, arbitrary CSS, and scripts are not supported as UI themes.
Adjust the checkerboard and guides
Choose colors for the checkerboard's Light square and Dark square, and select a size of 2, 4, 8, or 16 px. The preview updates as you change them. The checkerboard indicates transparency; its colors are not part of exported artwork.
Toggle Pixel grid to show pixel boundaries and Onion skin to see neighboring animation frames while editing. Both can also be toggled above the canvas. Onion skins are hidden during playback and are not exported.
For more control, use Onion skin options beside the canvas toggle to adjust frame counts, opacity, display, and other options. The separate Grid settings control configures a customizable cell grid and snapping; it is different from the pixel grid.
Configure pointer and quicktools
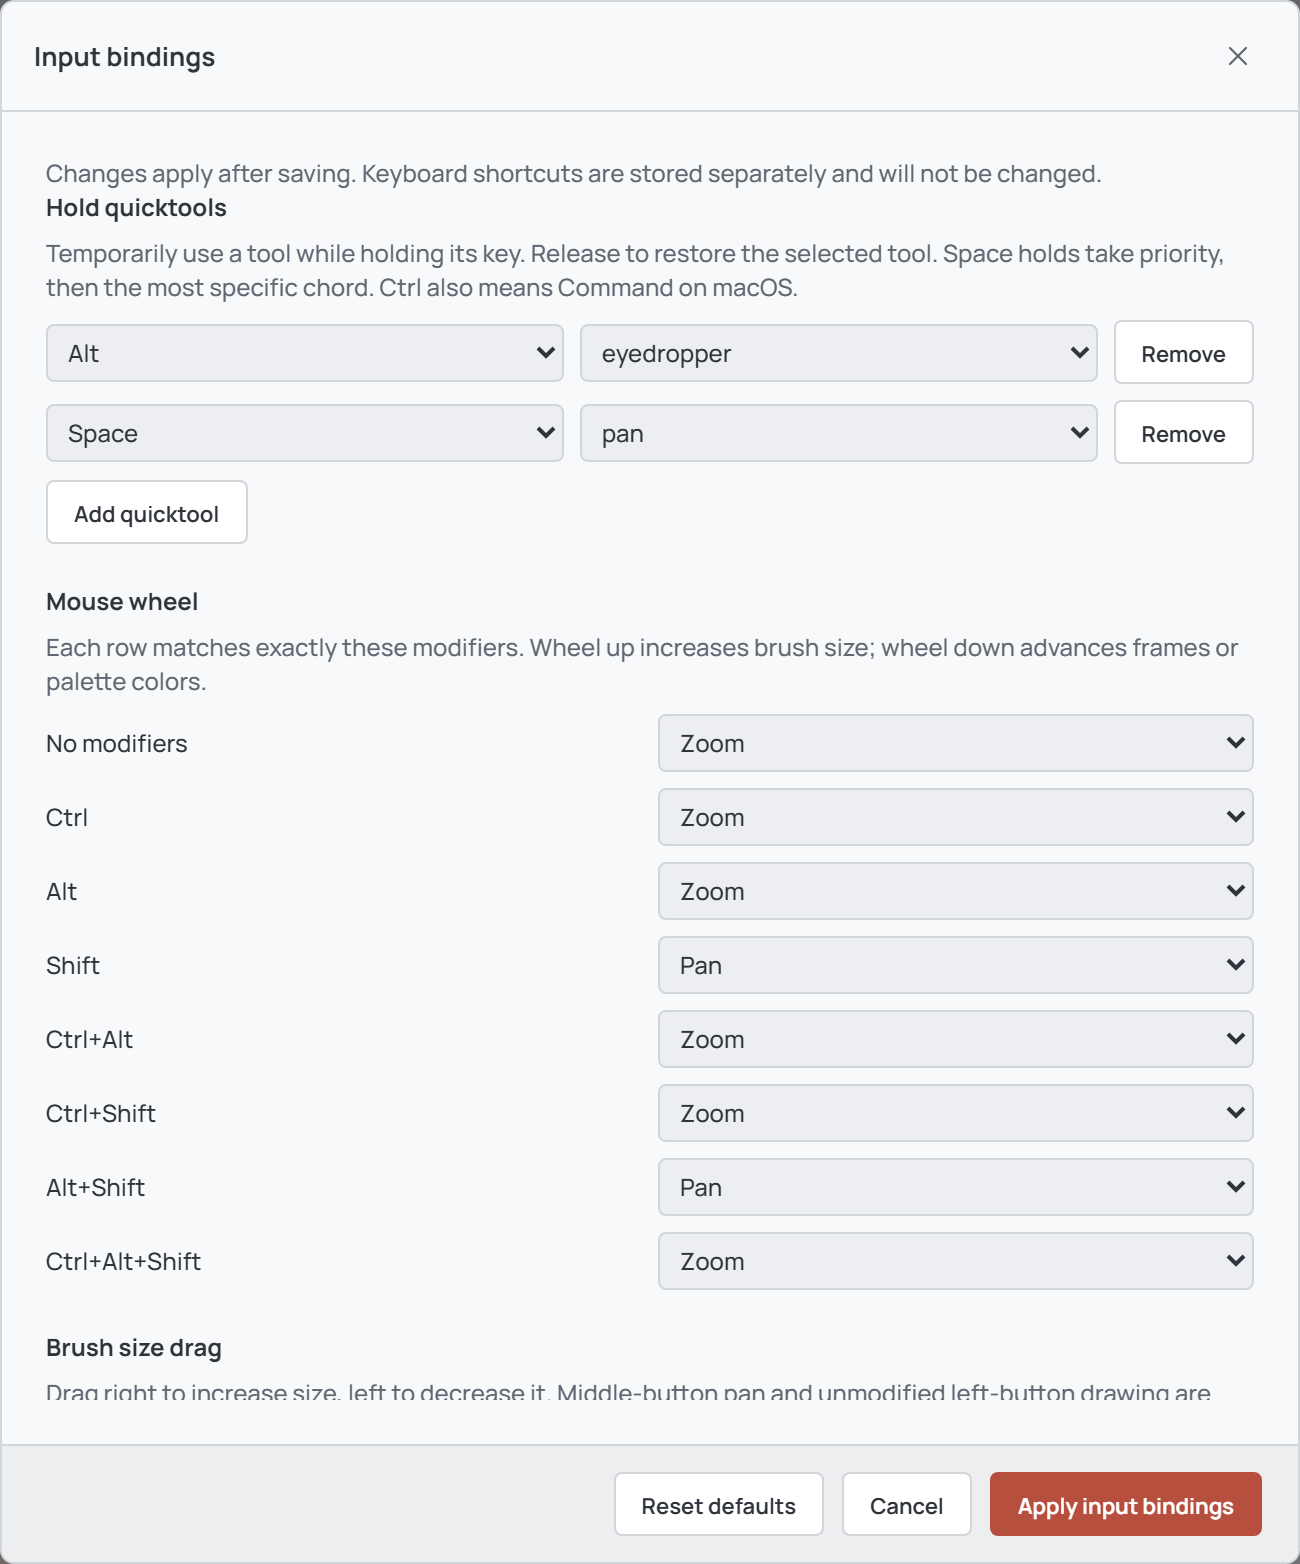
Choose Help → Input settings..., or open Help → Keyboard shortcuts and select Pointer & quicktools. Under Hold quicktools, assign a temporary tool to a held key combination; releasing it restores the selected tool. By default, Alt selects the eyedropper temporarily and Space pans.
Under Mouse wheel, choose an action for each exact modifier combination, such as zoom, pan, brush size, frames, or palette colors. Scroll down to configure Brush size drag. Middle-button pan and unmodified left-button drawing are reserved.
Choose Apply input bindings to save, Cancel to discard the draft, or Reset defaults followed by Apply to restore defaults. Input bindings are separate from keyboard shortcuts; see Keyboard shortcuts for those settings.
Other settings and persistence
Use View → Workspace layouts... to arrange sidebars and the timeline; see Workspace layouts. Tool-specific settings are available beside the canvas or in the relevant tool panel, rather than all being in Preferences.
Settings are stored locally, not in the .opal artwork. If settings cannot be restored or saved, SpriteOpal displays a warning; changes may apply only for the current session. Save artwork separately with File → Save project.